
Our process
Six steps, in the order that makes it last
Most log home finish failures aren’t product failures. They’re order failures: stain over gray wood, sealant over rot, finish over wet logs. This is how we avoid them.
Key numbers
- Wood moisture before any finish goes on
- < 19%
- Measured with a pin meter, per wall
- Topcoat interval on sun-facing walls
- 3–5 yrs
- South and west elevations wear first
- Minimum stain on bare wood
- 2 coats
- Plus a topcoat where the system calls for it
- Checks wider than this get sealed
- 1/4"
- Upward-facing cracks hold water
Inspect
Readings logged per wall
Moisture readings, probe tests and photos, wall by wall.
Why it comes first: You can’t price or plan a restoration from the driveway. The inspection tells us what’s cosmetic, what’s structural and what can wait.
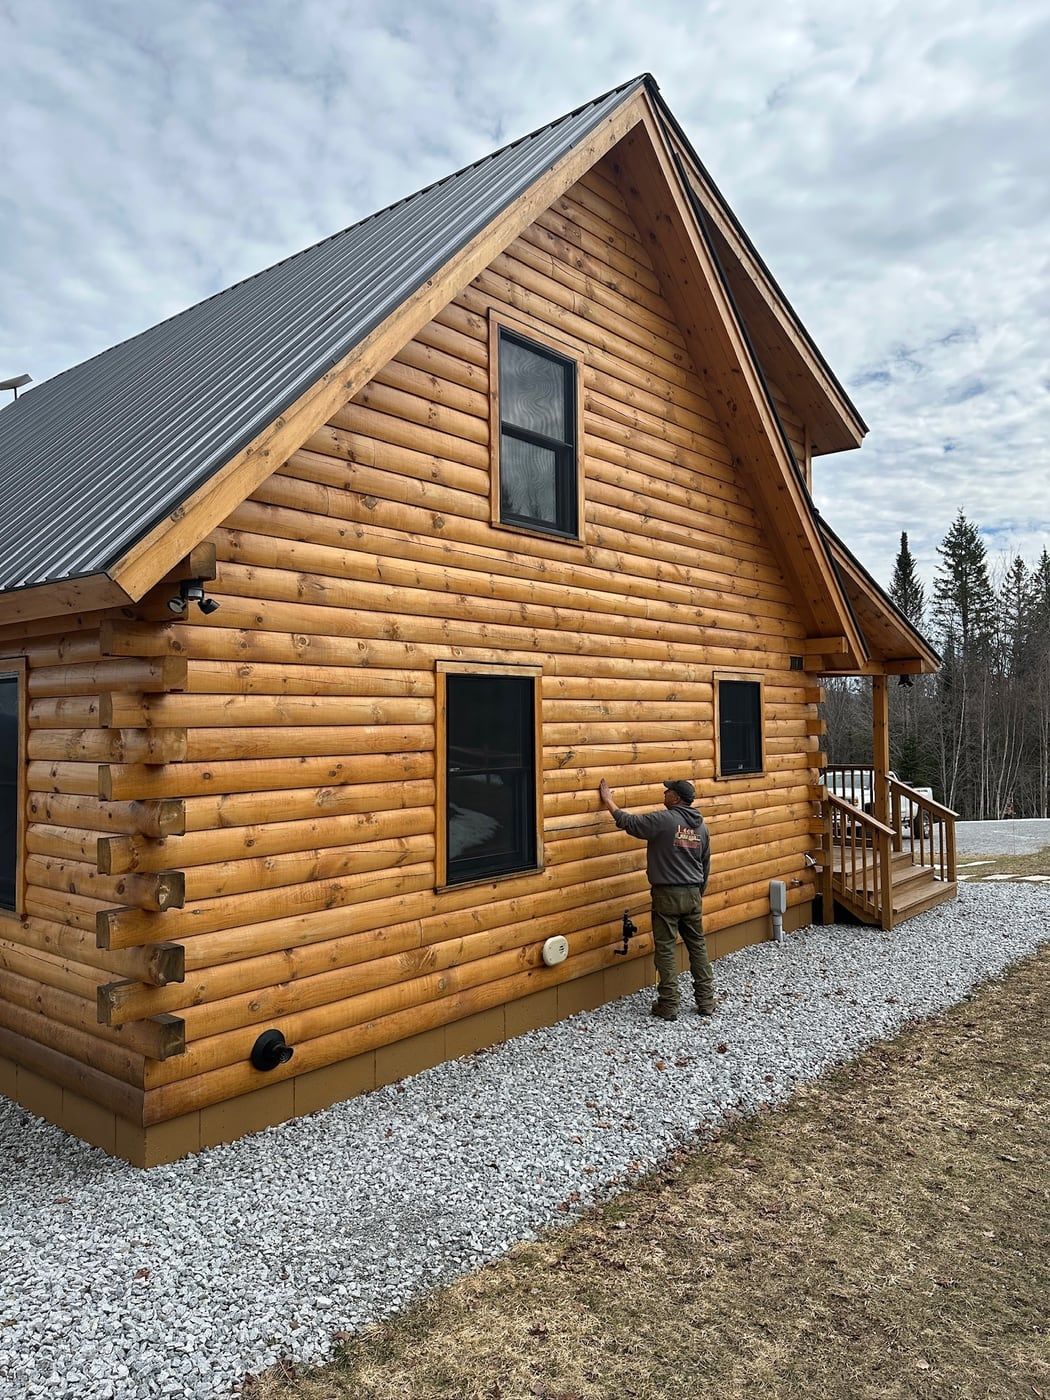
- We walk every elevation and note the finish condition, checking (cracks), chinking gaps and any staining from gutters or splashback.
- We take pin-meter moisture readings on each wall, low and high, because sun-facing and shaded walls rarely match.
- Suspect areas get probed with an awl. Soft wood is mapped and photographed so you can see it too.
- You get a written scope broken down wall by wall, with photos, not a single number on a business card.
Strip
Dry to < 19% moisture
Remove failed finish, gray fibers and mildew down to sound wood.
Why it comes after inspect: New stain over old, failing stain fails with it. Getting to clean, bare wood is what lets everything after this step last.
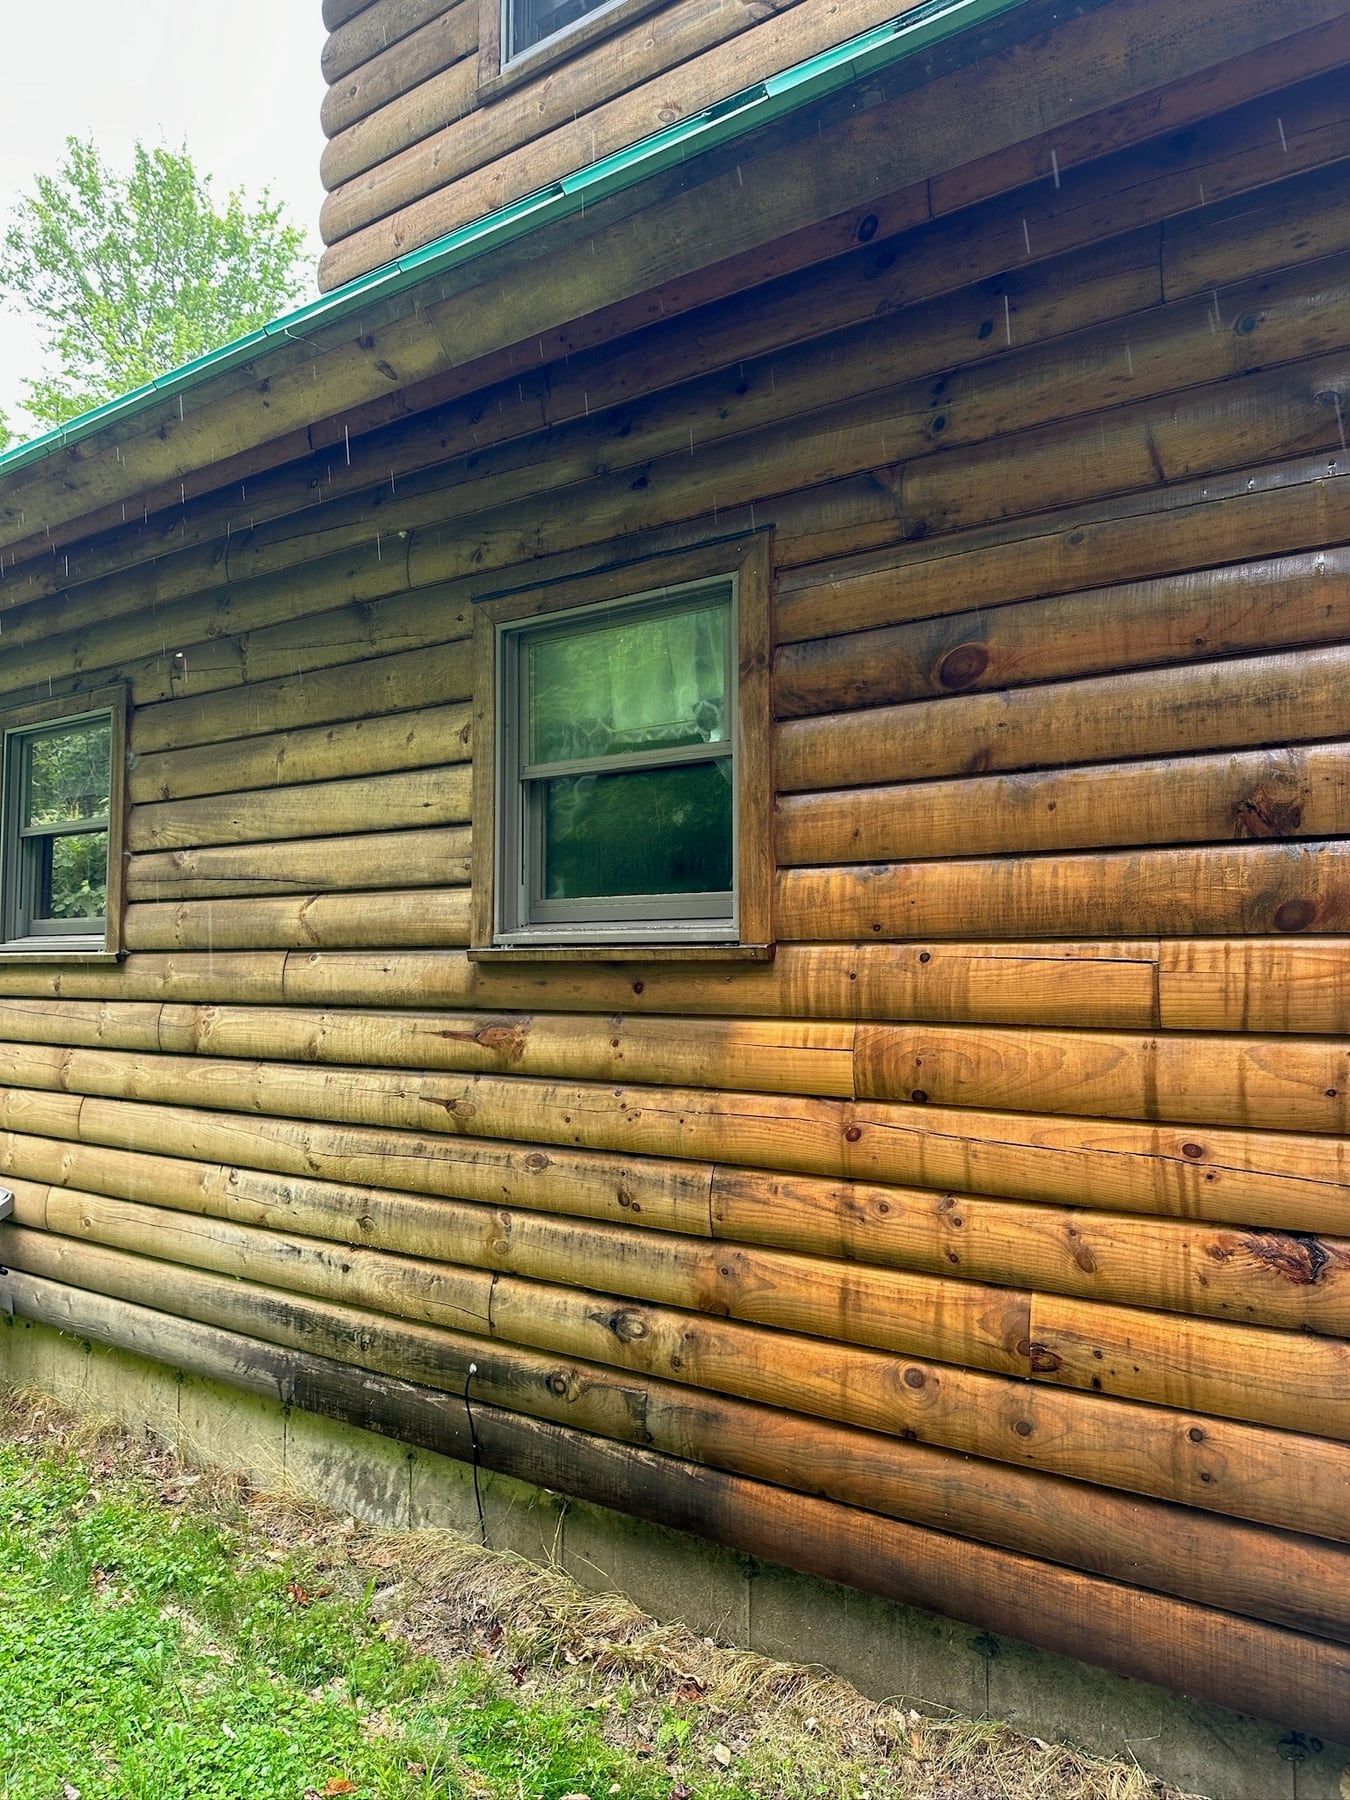
- We choose the method by the finish and the wood: media blasting for film-forming finishes and heavy buildup, washing and sanding for lighter jobs or when blasting isn’t practical.
- Windows, doors, roofing, landscaping and mechanicals are masked and protected before any stripping starts.
- UV-damaged gray fibers are removed, not stained over. They won’t hold a finish.
- After stripping, the logs dry out until readings come back under 19% before anything goes on them.
Repair
Probe-tested to sound wood
Fix rot, replace failed logs and treat bare wood with borate.
Why it comes after strip: Bare wood is the one chance to see and treat everything. Rot and insect damage left under a fresh finish keep spreading out of sight.
- Small soft spots get cut back to sound wood and rebuilt with epoxy consolidant and filler, then shaped to match the log.
- Logs with deep rot get sectioned out and spliced, or replaced full length when the damage runs too far.
- A borate preservative goes on while the wood is bare and can absorb it, guarding against rot fungi and wood-boring insects.
- We note the cause of every repair, whether gutters, grade, splashback or a roofline, so it doesn’t happen again.
Seal
Checks > 1/4" sealed
Chink and caulk joints, corners, checks and penetrations.
Why it comes after repair: Air and water get in through the gaps first. Sealing before staining means the finish goes over a tight, weatherproof shell.
- Upward-facing checks wider than about 1/4 inch get backer rod and a flexible sealant so they stop holding water.
- Failed or missing chinking is cut out and replaced with an elastic chinking compound tooled to a consistent profile.
- Butt joints, corners, window and door trim, and every wire or pipe that passes through a log get sealed.
- Products are chosen to stay flexible as logs move with the seasons, and to accept stain where they need to.
Protect
2-coat minimum on bare wood
Breathable stain plus a topcoat, built to the right thickness.
Why it comes after seal: The finish is the log’s skin. It has to block UV and shed water while still letting moisture out of the wood.
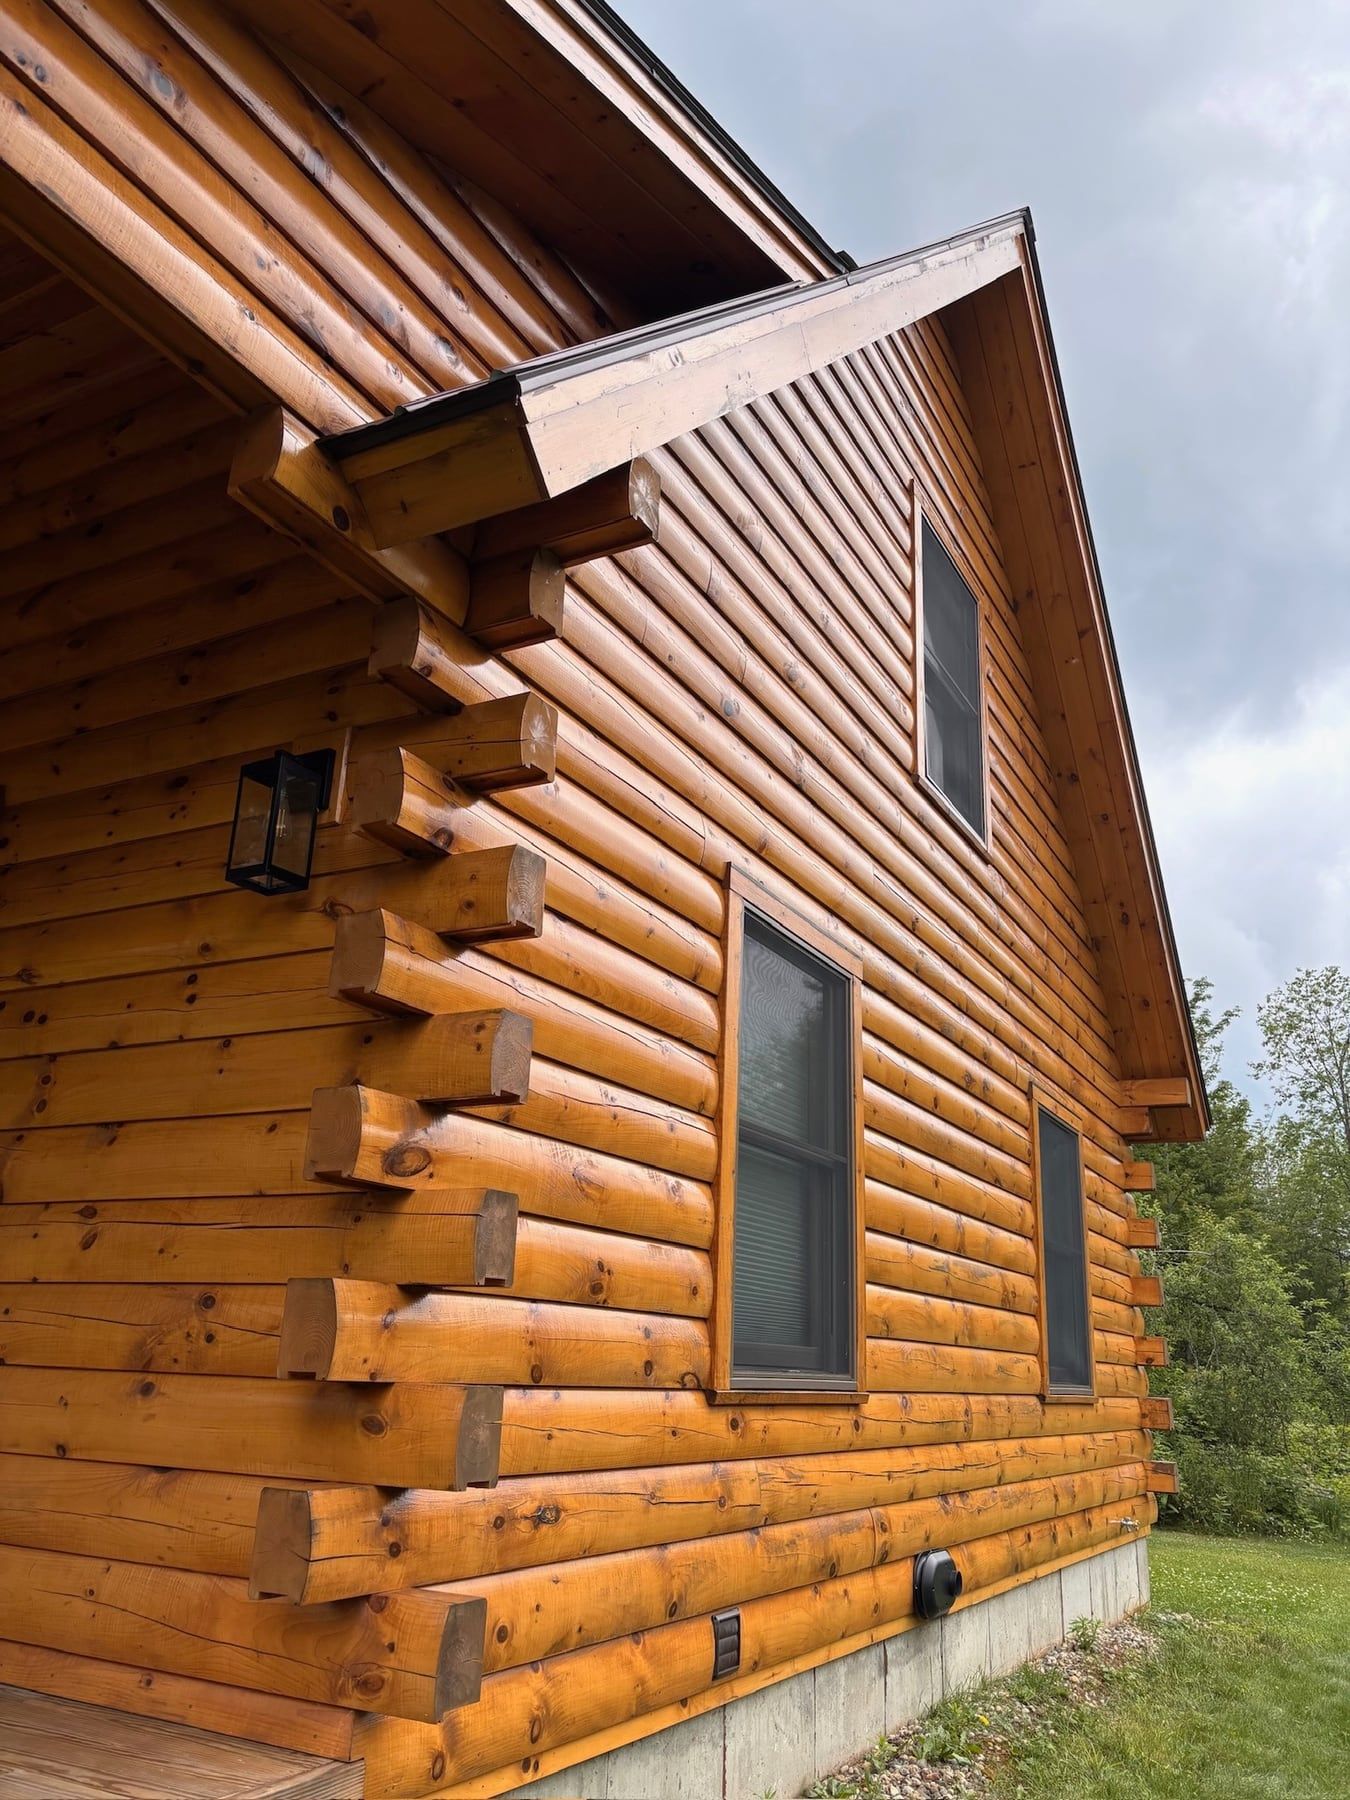
- We use breathable, log-specific finish systems, not deck stain or paint, so trapped moisture can escape.
- Bare wood gets a 2-coat minimum of stain, then a clear topcoat where the system calls for one.
- Color is tested on your logs, on a section you approve, before full application.
- Product, color, batch and coat count are recorded so future maintenance coats match exactly.
Maintain
Topcoat every 3–5 yrs on sun walls
Yearly checkups and maintenance coats before damage starts.
Why it comes last: A maintained finish costs a fraction of a full restoration. Sun-facing walls wear first, so catching them early keeps the rest of the house from following.
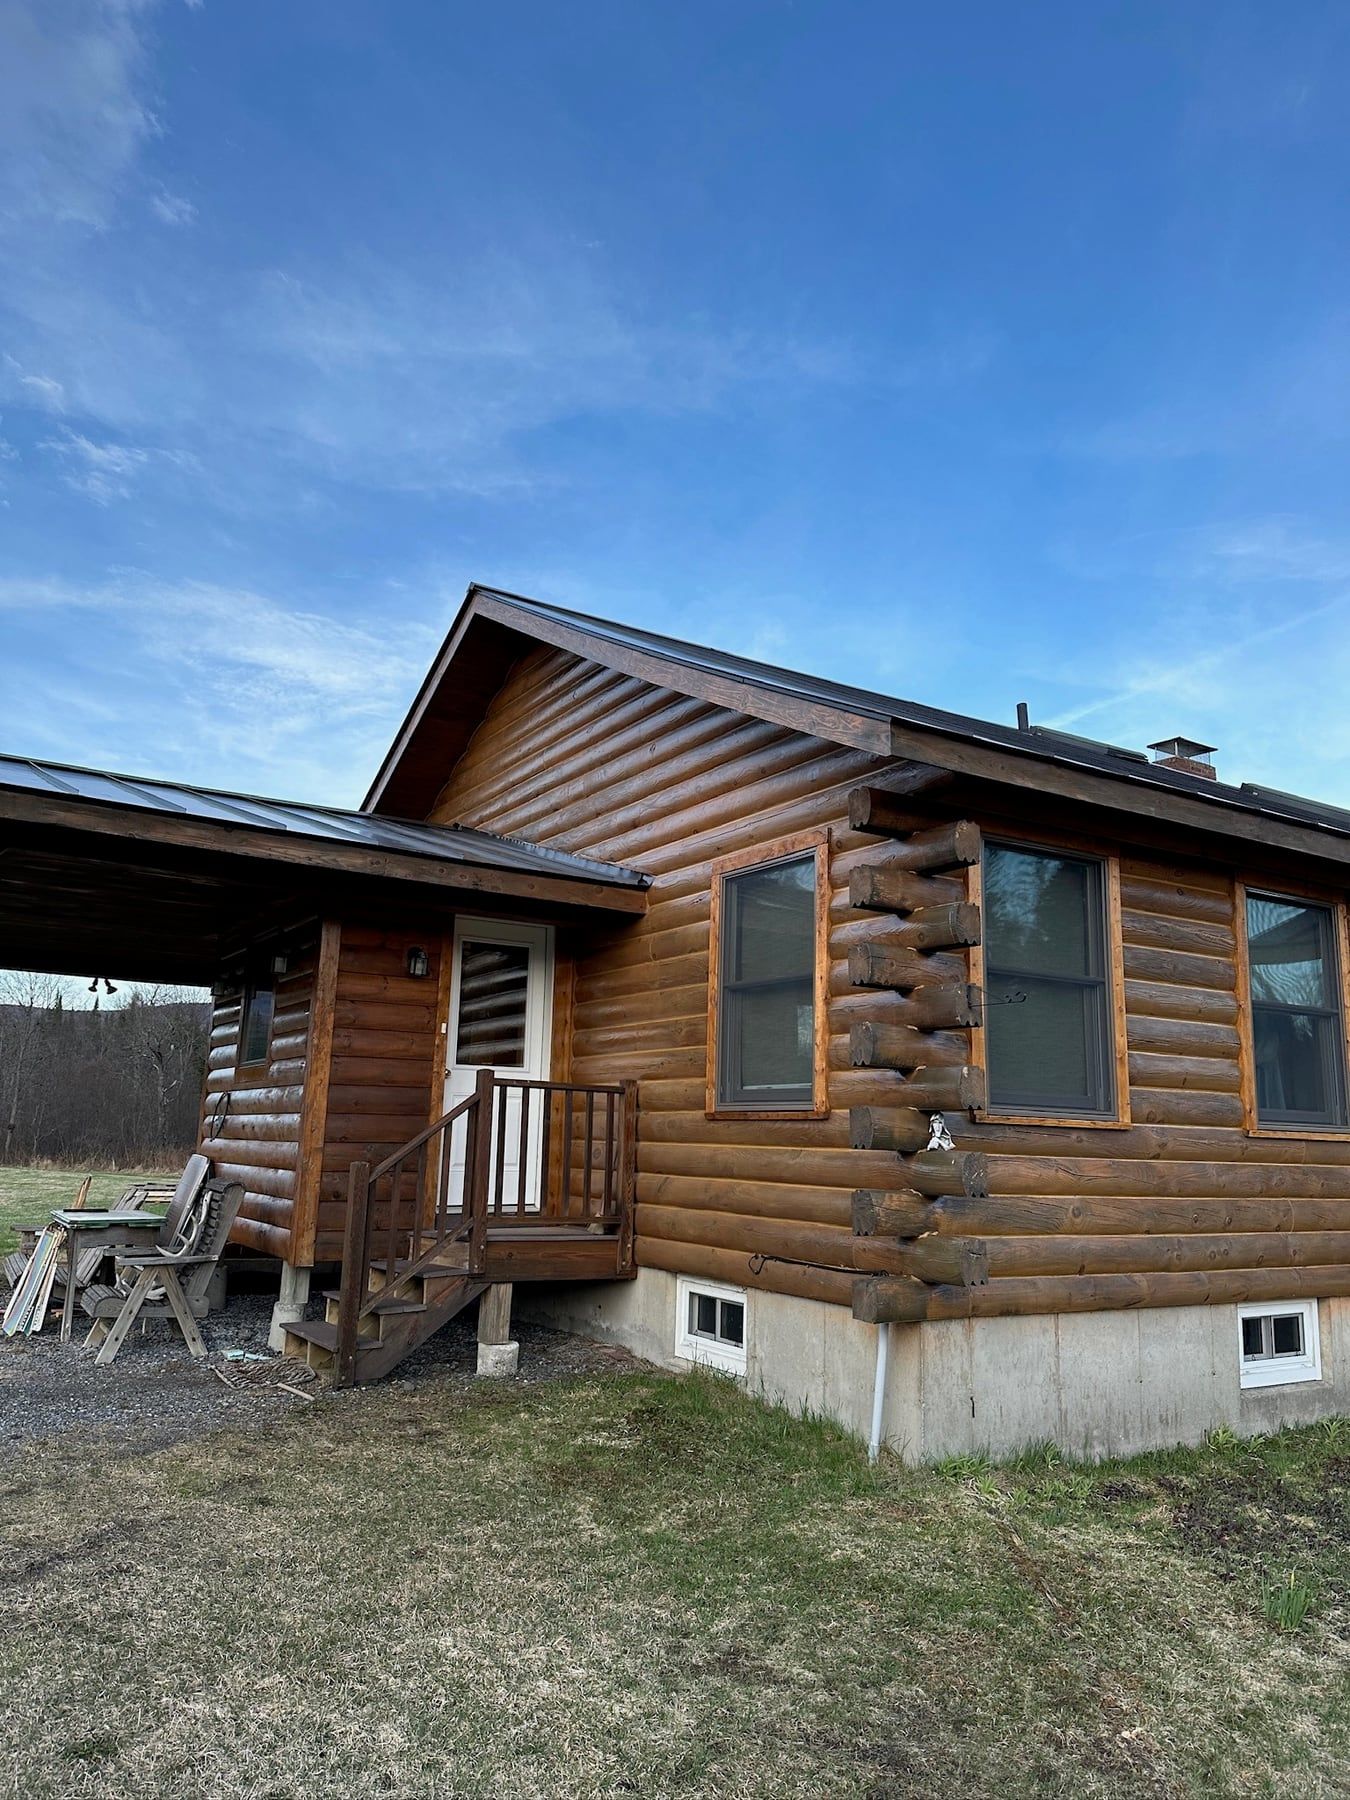
- A yearly walk-around catches failing caulk, new checks, insect activity and finish wear early.
- Sun-facing south and west walls usually need a maintenance topcoat every 3–5 years. Shaded walls often go longer.
- Maintenance coats go over clean, intact finish, with no stripping, when they’re done on time.
- Care plans keep your records, products and schedule in one place.
Book an inspection
Start with step one
The inspection is free and comes with a written scope for every wall: moisture readings, photos and a recommended order of work.